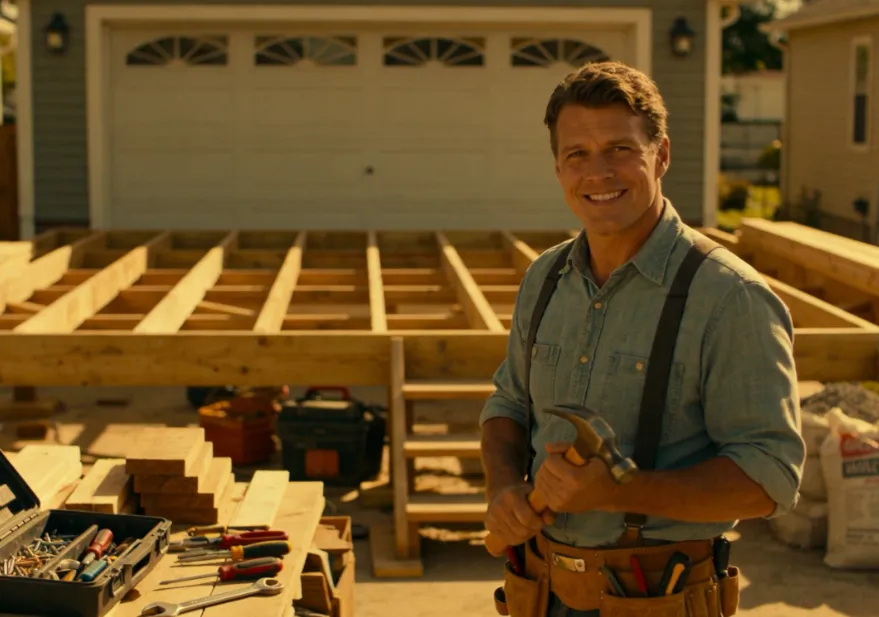
I’ve been swinging a hammer, laying concrete, framing walls, and fixing every kind of home disaster across the U.S. and Europe for nearly 15 years. I’ve watched homeowners drop thousands on high-priced contractors for simple jobs they could totally handle themselves—and I’ve also seen folks wreck their homes by skipping the basics, rushing into DIY blind, and cutting every corner possible.
If you’re reading this, you probably want to tackle home improvements on your own, slash labor costs, and build something you can be proud of, without dialing up a pro for every tiny repair. This isn’t some fluffy, generic “DIY for beginners” post full of pretty pictures and zero real advice. This is straight, unfiltered talk from a guy who’s lived and breathed residential builds, renovations, and repairs day in and day out.
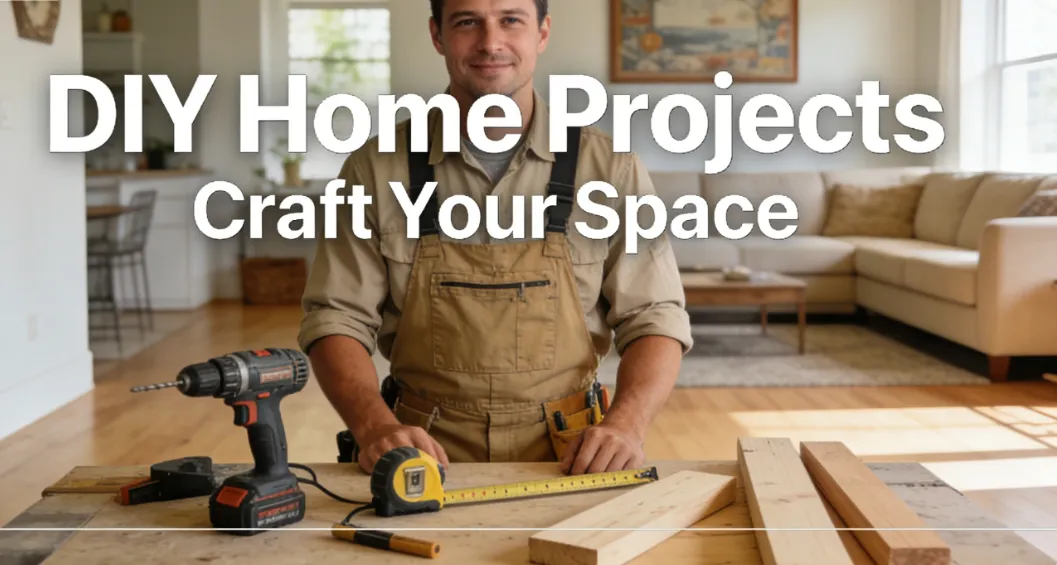
I’m breaking down the most profitable, beginner-friendly DIY projects for homeowners, sharing my on-site pro tricks to nail professional-grade results, warning you about the expensive mistakes that make contractors rich, and even telling you exactly when to step back and call a licensed expert. Whether you’re a first-time homeowner still figuring out a tape measure or a seasoned hobbyist looking to level up your skills, these projects will boost your home’s value, keep cash in your pocket, and give you the confidence to take on bigger builds down the line.
Why DIY Projects Make Sense (Especially in Today’s Crazy Market)
Let’s keep it 100% real: Construction and labor costs are through the roof right now, and they’re not dropping anytime soon. A simple deck repair that ran $500 a decade ago will set you back $1,500+ with a licensed contractor. A sleek accent wall? Contractors often charge $800–$1,200 for a weekend project that only costs $100 in supplies. For most homeowners, DIY isn’t just a fun hobby—it’s a smart, necessary financial move.
But here’s the hard truth: bad DIY is way more expensive than hiring a pro upfront. I’ve torn out rotted decks built with the wrong fasteners, sanded down lumpy drywall patches that look like a patchwork quilt, and fixed plumbing leaks that homeowners “fixed” themselves, only to cause massive water damage and mold growth. The goal isn’t just to do it yourself—it’s to do it right the first time, and that’s where my years of on-site experience come in clutch.
Every project on this list is hand-picked for low risk, high reward. They need minimal specialized tools, easy-to-find hardware store supplies, and basic skills anyone can pick up in an afternoon. No fancy engineering degrees, no industrial-grade equipment, no prior construction experience required—just hard work, attention to detail, and the insider tips I’m about to drop.
My Top DIY Projects for Homeowners (Beginner to Intermediate)
I’ve ranked these projects by difficulty, starting with the absolute easiest (zero experience needed) up to intermediate builds that just take a little patience and focus. Each one comes with a no-fluff materials list, pro shortcuts to save time, and red flags that mean it’s time to call for backup.
1. Interior Drywall Patching & Repair (Absolute Beginner Level)
Holes in the wall from nails, doorknobs, old fixtures, or clumsy moves are the most common home woe—and the simplest fix. Contractors charge a ridiculous premium for this, but it’s a 30-minute job once you know the right steps.
Pro Materials List (Don’t Skimp—Cheap Supplies Ruin the Job):
- Self-adhesive drywall patch mesh (perfect for small holes under 6 inches)
- All-purpose joint compound (skip lightweight—it shrinks and cracks nonstop)
- 6-inch and 10-inch drywall knives (don’t try this with a putty knife alone)
- 120-grit and 220-grit sandpaper (for a smooth, paint-ready finish)
- Primer + matching wall paint (primer is non-negotiable for a seamless look)
My Pro Trick: Never glob on joint compound in one thick coat. You’re asking for cracks. Apply 3 thin, even coats, letting each dry fully (2–4 hours minimum) before light sanding. For nail pops, drive the nail deeper with a nail set first—this stops the hole from popping right back in a few months.
When to Call a Pro: If the hole is bigger than 12 inches, or the drywall is soft, water-damaged, or sagging—this signals mold, rot, or structural damage behind the wall that you can’t fix with a patch.
2. Outdoor Deck Board Replacement & Maintenance (Beginner to Intermediate)
A worn, rotted deck kills curb appeal and is a straight-up safety hazard. Swapping out a few bad boards or resealing the deck is a total game-changer for your backyard, and it’s way simpler than most homeowners think.
Pro Materials List:
- Pressure-treated deck boards (match your existing size—5/4×6 is the standard for most decks)
- Stainless steel or coated deck screws (ditch regular nails—they pop up and loosen over time)
- Pry bar, circular saw, 25-foot tape measure, 4-foot level
- Deck stain/sealer (oil-based for durability, water-based for easy cleanup)
My Pro Trick: Cut deck boards with a 1/4-inch overhang, then trim flush at the end—this keeps water from seeping into the cut ends and rotting the wood fast. When resealing, pressure wash on low setting (high pressure shreds wood fibers) and let the deck dry 48 hours straight before applying sealer. One thin, even coat beats two thick goopy ones every time.
When to Call a Pro: If deck joists are rotted, the ledger board (attached to the house) is loose, or the deck sits over 2 feet off the ground with wobbly supports—this is a structural risk you don’t want to tackle alone.
3. Accent Wall Installation (Intermediate Level)
Shiplap, beadboard, and wood plank accent walls are huge for home value, and they’re a beginner-friendly build that looks high-end and custom. I’ve installed hundreds of these for clients, and 90% of homeowners could nail this themselves with my simple rules.
Pro Materials List:
- Prefinished shiplap/plank boards (save time and skip painting unfinished boards)
- Finishing nails or budget cordless brad nailer (worth every penny for speed)
- Stud finder, level, paintable caulk, wood filler
My Pro Trick: Start at the bottom of the wall and work your way up, using the level to keep every board perfectly straight. Never skip finding studs—nailing only into drywall means your planks will fall off in months. Caulk the gaps between planks, ceiling, and baseboards for a seamless, contractor-grade finish; this one small step takes your DIY job from “amateur” to “professional.”
4. Concrete Patio/Slab Repair (Intermediate Level)
Cracked, chipped concrete patios, walkways, and garage slabs are an eyesore, but patching them is way cheaper than pouring brand-new concrete. This is the perfect project to dip your toes into basic masonry work without the stress of a full pour.
Pro Materials List:
- Fast-setting concrete patching compound (for small cracks) or vinyl patch (for larger gaps)
- Trowel, wire brush, bucket, heavy-duty work gloves
- Concrete sealer (shields the patch from water, salt, and weather damage)
My Pro Trick: Scrub the crack clean with a wire brush and vacuum every speck of dust—dirty concrete won’t bond with the patch, and it will crumble fast. Lightly wet the area before applying the compound (dry concrete sucks out moisture and causes cracking). Smooth the patch flush with the surrounding concrete, never higher—sanding cured concrete is a miserable, time-wasting chore.
Critical Safety Rules I Live By (Don’t Ignore These—Ever)
I’ve seen way too many DIYers end up in the ER because they skipped safety gear to save time or look “tough.” As a construction worker, safety isn’t a suggestion—it’s non-negotiable, no matter how small the job. Here’s the gear you need for every single project:
- Safety glasses: Dust, flying nails, and debris will hit your eyes fast—don’t risk permanent damage.
- Heavy-duty work gloves: Protect hands from splinters, sharp edges, concrete burn, and blisters.
- Closed-toe work boots: Dropping a hammer, board, or tool on an unprotected foot is a quick trip to the hospital.
- Dust mask/respirator: Drywall, concrete, and wood dust wreck your lungs long-term—don’t skimp here.
- Shut off utilities first: If working near electrical wires or plumbing, cut power and water at the main. I keep a voltage tester on my belt 24/7—use it to confirm power is off before touching anything.
Pro Warning: Never touch gas lines, main electrical panels, or load-bearing walls without a licensed professional. These jobs are deadly if botched, and a bad DIY job will void your home insurance and cost tens of thousands to fix.
Tools Every DIYer Needs (No Fancy, Overpriced Gear Required)
You don’t need a $1,000 tool collection to start knocking out DIY projects. Start small, invest in quality basics, and build your kit over time. This is my go-to starter kit for new DIYers:
- 25-foot sturdy tape measure (cheap ones bend, break, and give wrong measurements)
- 16-ounce claw hammer (standard size, fits all hands and basic jobs)
- 2-foot and 4-foot levels (bubbles don’t lie—don’t trust your eyes alone)
- Phillips + flathead screwdriver set (basic, but indispensable)
- Affordable cordless drill (grab extra batteries—dead batteries kill momentum)
- Pry bar (for quick demo and removing old boards/fasteners)
Skip the flimsy, dollar-store tools—they break mid-project and cost more in the long run. I still have the first tape measure and drill I bought 15 years ago, all because I spent a little extra on durable gear instead of cheap junk.
How to Make Your DIY Projects Last (Pro Maintenance Tips)
The biggest mistake DIYers make is finishing a project, stepping back, and forgetting about upkeep. A little regular maintenance keeps your work looking brand-new for years and saves you from redoing the entire job later. Stick to these rules:
- Reseal decks, patios, and exterior wood every 1–2 years (adjust for harsh weather)
- Tighten loose screws and nails on walls/decks before they turn into holes or wobbly spots
- Clean gutters seasonally to stop water damage to walls, siding, and foundations
- Touch up paint chips on walls and trim immediately to prevent peeling and water damage
Final Thoughts: DIY Is About Confidence, Not Perfection
I’m not here to tell you to tackle a full home remodel or frame a second floor alone—those jobs need pro expertise. But the small, high-impact projects that boost your home’s value and save you cash? Those are yours for the taking.
Every finished DIY project teaches you new skills, puts more money in your wallet, and gives you pride in knowing you built it with your own two hands. If you’re nervous to start, pick the simplest project (drywall patching is ideal for newbies) and take it slow. My golden rule on every job site: measure twice, cut once. If you hit a snag, don’t panic—research, ask for advice, or call a pro for a quick consult (way cheaper than a full repair).
Stick around this site for more hands-on tips, honest tool reviews, and step-by-step DIY guides from a construction worker who’s been in the trenches. I’m breaking all the insider hacks they don’t teach in generic YouTube tutorials, so you can get professional results without the pro price tag.
Drop a Comment Below:
What DIY project are you tackling first? Do you have a home repair headache you’re stuck on? Leave your questions and projects in the comments, and I’ll answer with real on-site expertise!


Leave a Reply