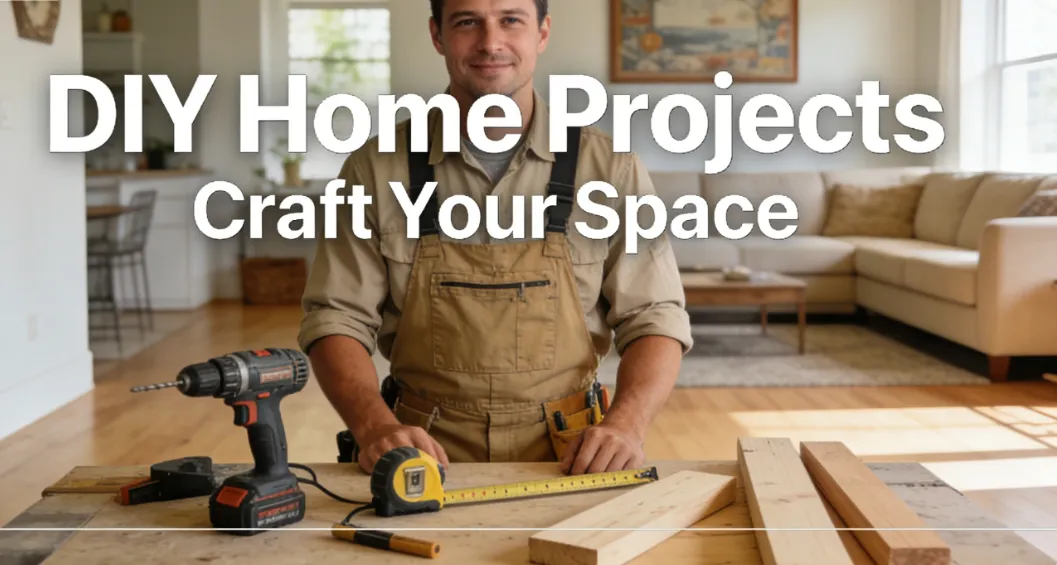
If you’re scrolling through home renovation Instagram or Pinterest, you’ve probably seen those flawless DIY projects that make you think, “I could never do that.” As someone who’s spent 15+ years swinging a hammer, framing houses, laying flooring, and fixing every botched DIY job under the sun, I’m here to tell you the truth: you don’t need a contractor’s license, a $5,000 tool collection, or years of experience to build something awesome for your home.
Too many beginners get scared off by fancy jargon, complicated blueprints, or horror stories of wonky shelves and leaky planters. But DIY isn’t about perfection—it’s about saving money, learning a new skill, and taking pride in something you built with your own two hands. I’ve helped countless homeowners tackle their first projects, and the biggest mistake I see is overcomplicating things.
This guide is written for you: the weekend warrior, the first-time homeowner, the renter looking to add personal touches without breaking the bank. I’m breaking down 5 foolproof DIY projects that use affordable materials, basic tools, and simple construction techniques I use every day on the job site. No fancy gear, no confusing math, just step-by-step advice that actually works. I’m not here to sell you expensive kits or overhyped supplies—just real, field-tested tips that get the job done right the first time.
Why DIY Projects Are Worth Your Time (And How They Boost Your Home Value)
Let’s cut to the chase: hiring a contractor for small home upgrades is expensive. A basic floating shelf install can cost $150+ labor, a custom planter box can run $300+, and a simple mudroom bench? You’re looking at $500 minimum. When you DIY, you’re only paying for materials—savings that add up fast, especially if you’re tackling multiple small upgrades around the house.
But it’s not just about saving cash. DIY builds add character to your home that mass-produced furniture never will. You can customize the size, finish, and style to fit your space perfectly, not the other way around. Plus, every project teaches you basic construction skills that come in handy for bigger jobs down the line (think hanging drywall, fixing a loose fence, or even installing a new backsplash). And if you’re planning to sell? Small, well-made DIY upgrades like built-in shelving or outdoor planters catch buyers’ eyes and boost curb appeal big time—agents always point out handcrafted touches to potential buyers.
A quick pro tip before we dive in: always measure twice, cut once. This is the golden rule on every construction site, and it’s the #1 way to avoid costly mistakes. Grab a tape measure, a pencil, and take your time—rushing is how you end up with a shelf that’s too short, a planter that won’t fit in your yard, or a pile of wasted lumber. I’ve seen pros mess up by rushing, so don’t think you’re immune just because you’re a beginner.
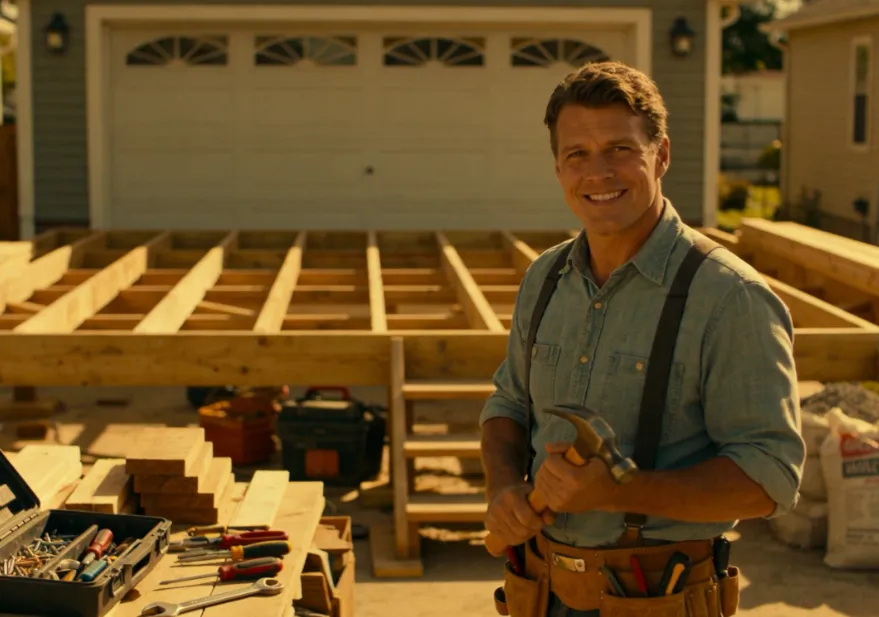
My Top 5 DIY Projects for Beginners (Construction-Approved)
These projects are designed for absolute beginners. I’ve used scrap lumber from job sites, affordable hardware store supplies, and minimal tools to make them accessible. Each one takes 2-6 hours max—perfect for a Saturday or Sunday project, and you’ll have a finished piece to show off by dinner time. I’ve built every single one of these in my own home or for friends, so I know they hold up to daily use.
1. Floating Wall Shelves (The Easiest DIY Win)
Floating shelves are the holy grail of DIY—they look sleek, professional, and hide all the hardware so your wall stays clean. I build these for homeowners all the time, and they’re shockingly simple to make. Even if you’ve never picked up a drill before, you can nail this project in an afternoon.
What You’ll Need:
- 1×6 or 1×8 pine boards (cut to your desired length—hardware stores will cut this for free if you ask, no need to buy a saw)
- Heavy-duty floating shelf brackets (skip the flimsy plastic ones—they’ll bend under weight)
- 3-inch wood screws, drywall wall anchors (non-negotiable for drywall!), 4-foot level, cordless drill, tape measure
- 120-grit sandpaper, wood stain/paint (optional, for a polished, finished look)
Pro Construction Tips:
Never skip wall anchors—drywall can’t hold weight on its own, and your shelf will crash down with your favorite books or decor. Use a level the entire time; even a 1-degree tilt will look obvious once it’s on the wall. Sand the edges smooth before staining to avoid splinters, and let the finish dry fully (at least 24 hours) before loading it up. For extra stability, mount the brackets directly into wall studs if you can find them.
2. Outdoor Raised Planter Box (Great for Beginners & Curb Appeal)
If you have a green thumb (or want to start one), a raised planter box is the perfect outdoor DIY. It’s also a great way to use up scrap lumber from job sites— I’ve built these with leftover decking boards and 2x4s for next to nothing. They’re durable, weather-resistant, and way sturdier than flimsy plastic planters from the big-box store.
What You’ll Need:
- 2×4 lumber (for the inner frame, cuts down on waste)
- 1×6 cedar or pressure-treated boards (weather-resistant, lasts 5+ years outside)
- Exterior-grade wood screws (rust-proof, don’t skimp here), drill, tape measure, speed square (to make sure corners are 90 degrees)
- Landscape fabric (optional, to keep soil from leaking out the bottom and weeds from growing in)
Pro Construction Tips:
Use pressure-treated lumber for the base if it’s touching the ground—this prevents rot and extends the life of your planter. Make sure your corners are square with a speed square (a $10 tool every DIYer needs) so the box doesn’t warp or twist over time. Don’t make it too deep; 12-18 inches is perfect for most vegetables, herbs, and flowers. If you’re building a large planter, add a middle support beam to keep the sides from bowing under soil weight.
3. Entryway Mudroom Bench (Functional & Stylish)
Cluttered entryways are a pet peeve of mine, and a simple DIY bench fixes the chaos while adding extra seating for guests. This build uses basic framing techniques, no complex joinery required—no fancy dovetails or complicated cuts here, just straight screws and solid construction.
What You’ll Need:
- 2x4s (for the leg frame and supports, the backbone of the bench)
- 3/4-inch plywood or 1×10 boards (for the seat top, thick enough to support weight)
- Wood screws, drill, level, sandpaper
- Seat cushion or exterior paint (optional, for comfort and a custom look)
Pro Construction Tips:
Build the frame square and level first—wobbly benches are a safety hazard, especially for kids. Add a lower shelf for shoes if you have extra lumber; it’s a small addition that makes a huge difference in keeping your entryway tidy. Secure the legs to the wall studs if you have kids or pets to prevent tipping—this takes 5 extra minutes and saves you from a mess later.
4. Wooden Picture Ledge (Gallery Wall Hack)
Tired of hammering 100 nails into the wall for a gallery wall, only to hate the placement and patch holes later? A picture ledge is the solution. It’s adjustable, easy to install, and looks way more polished than random framed photos scattered on the wall. It’s also the perfect project for small scrap wood pieces, so you can save even more money.
What You’ll Need:
- 1×4 pine boards (cut to your desired length, easy to customize for any wall)
- Small L-brackets, drywall wall anchors, 2-inch screws
- Drill, level, tape measure
Pro Construction Tips:
Keep the ledge shallow (3-4 inches) so it doesn’t stick out too far and look bulky. Mount it at eye level (57-60 inches from the floor) for the best visual look, and use anchors even if you hit studs—extra security never hurts. This is also a great project to test out stain colors before tackling bigger builds, so raid your lumber pile first instead of buying new wood.
5. Garage Storage Shelves (Organize Your Space for Pennies)
Garages are usually the messiest spot in the house, and store-bought plastic storage units are flimsy and overpriced. These heavy-duty shelves use basic 2x4s and plywood, and they can hold hundreds of pounds—just like the industrial shelves I build on job sites. You’ll finally be able to store tools, paint cans, and seasonal gear without worrying about collapse.
What You’ll Need:
- 2×4 lumber (for the vertical supports and shelf frames, cheap and durable)
- 3/4-inch plywood (for shelf tops, strong enough for heavy tools)
- Exterior-grade screws, drill, speed square, tape measure
Pro Construction Tips:
Build the frame in sections for easy transport, then assemble it directly in the garage—no need to carry a huge finished unit through the house. Secure the shelves to the wall studs to prevent tipping—this is non-negotiable for heavy items like tools and paint cans. Space the shelves 16-24 inches apart for maximum storage, and make the top shelf tall enough for bulky items like storage bins.
Essential DIY Tools for Beginners (Don’t Waste Money on Junk)
You don’t need a full construction toolbox to start DIYing. Here’s the bare minimum I recommend for every beginner—these tools will last for years and handle all the projects above, plus countless more down the line. Skip the cheap disposable tools; invest in mid-range gear that won’t quit on you mid-project.
- Cordless drill: Invest in a mid-range brand (DeWalt, Makita, or Ryobi) — cheap drills die fast, strip screws, and make the job harder than it needs to be.
- Tape measure: 25-foot minimum, with a locking blade and sturdy hook—flimsy tape measures lead to bad measurements.
- Level: 4-foot torpedo level for big projects, small pocket level for quick installs like picture ledges.
- Speed square: $10 tool that guarantees square corners and straight cuts—total game changer for beginners.
- Basic screwdriver set & claw hammer: For small adjustments and manual work when a drill is too much.
- Sandpaper & safety gear: Work gloves, safety glasses, ear protection (always protect yourself on the job—one flying wood splinter can ruin your weekend).
Pro tip: Check Facebook Marketplace or local hardware stores for used tools—you can save 50% on gently used gear that works just as well as new. A lot of contractors sell old tools when upgrading, and you can score high-quality gear for a fraction of the cost.
Common DIY Mistakes to Avoid (From a Guy Who Fixes Them)
- Skipping measurements: Measure twice, cut once. I can’t stress this enough—wasted lumber is wasted money, and it’s avoidable.
- Using cheap hardware: Flimsy screws and plastic brackets break easily—spend a few extra bucks on heavy-duty, rust-proof parts.
- Ignoring safety: Wear safety glasses, gloves, and don’t rush. A trip to the ER is way more expensive than a slow, steady project.
- Overbuilding: You don’t need 10 screws for a small shelf—keep it simple, follow the instructions, and trust the process.
- Not prepping the wood: Sand splinters and seal outdoor wood to prevent rot, warping, and splintering down the line.
Final Thoughts: DIY Is About Progress, Not Perfection
When I first started in construction, I messed up plenty of jobs. I cut boards too short, hung shelves crookedly, and spent hours fixing my own mistakes. That’s part of the process—and it’s how you learn. Even the most seasoned contractors still make small errors, so don’t beat yourself up if your first build isn’t flawless.
Your first DIY project won’t be magazine-worthy, and that’s okay. The fact that you built it yourself is what matters. Every time you pick up a drill and a board, you’re getting better, more confident, and saving more money. Plus, you’ll have a custom piece for your home that tells a story.
If you’re stuck on a project, drop a comment below—I’ve been in the trenches, and I’m happy to share more pro tips, troubleshoot your mistakes, or help you pick the right materials for your space. And if you tackle any of these builds, tag me on social media—I’d love to see your work and celebrate your wins with you.
Stop waiting for a “perfect” time or a “professional” skill set. Grab your tools, head to the hardware store, and build something this weekend. Your home (and your wallet) will thank you.


Leave a Reply